How to teach ukulele strumming can be challenging, especially for young beginners.
Many students are expected to learn chords, strumming patterns, and singing at the same time. As a result, they often feel overwhelmed.
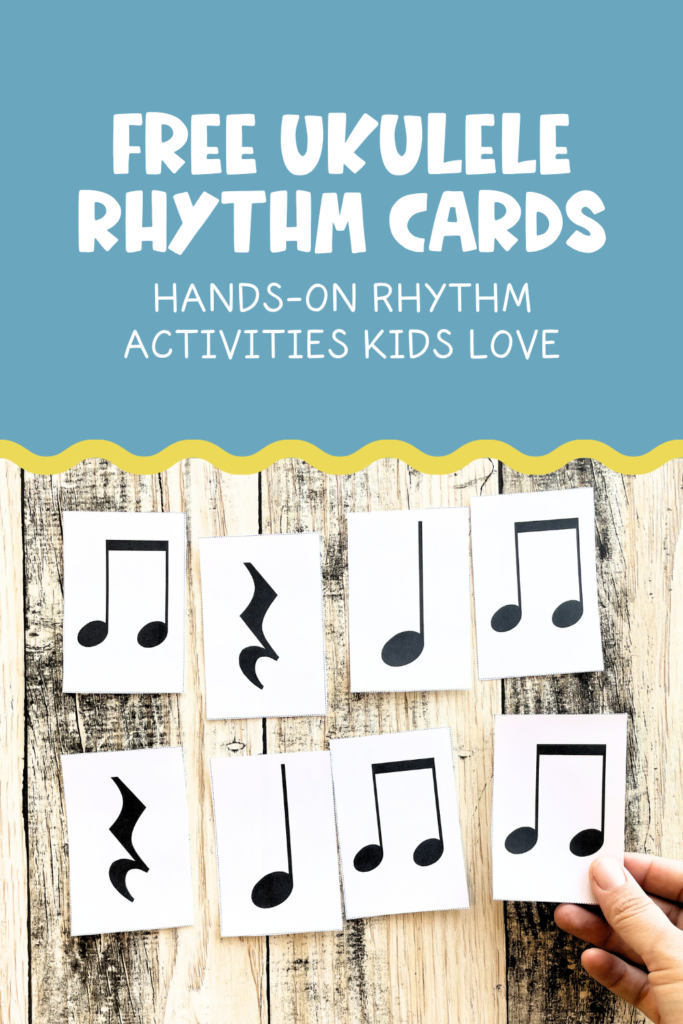
Over the years, I discovered that students learn strumming much better when rhythm is taught separately first.
Therefore, before adding strumming patterns to songs, I focus on helping students understand rhythm through movement, listening, composition, and games.
This approach builds confidence and makes the transition to the instrument much easier.
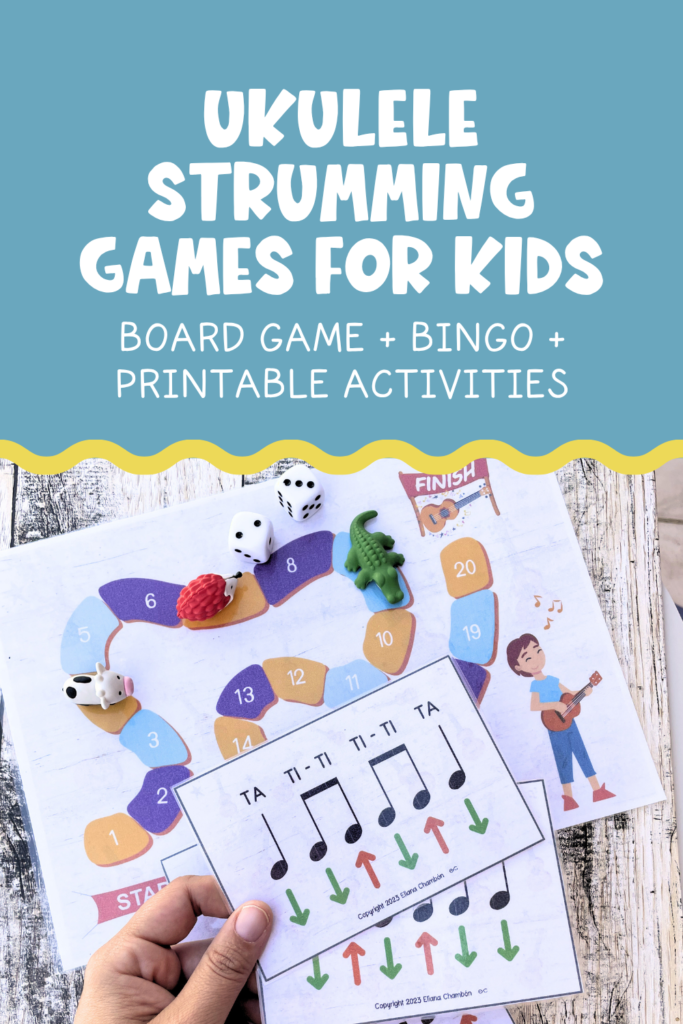
 Looking for ready-to-use ukulele strumming activities?
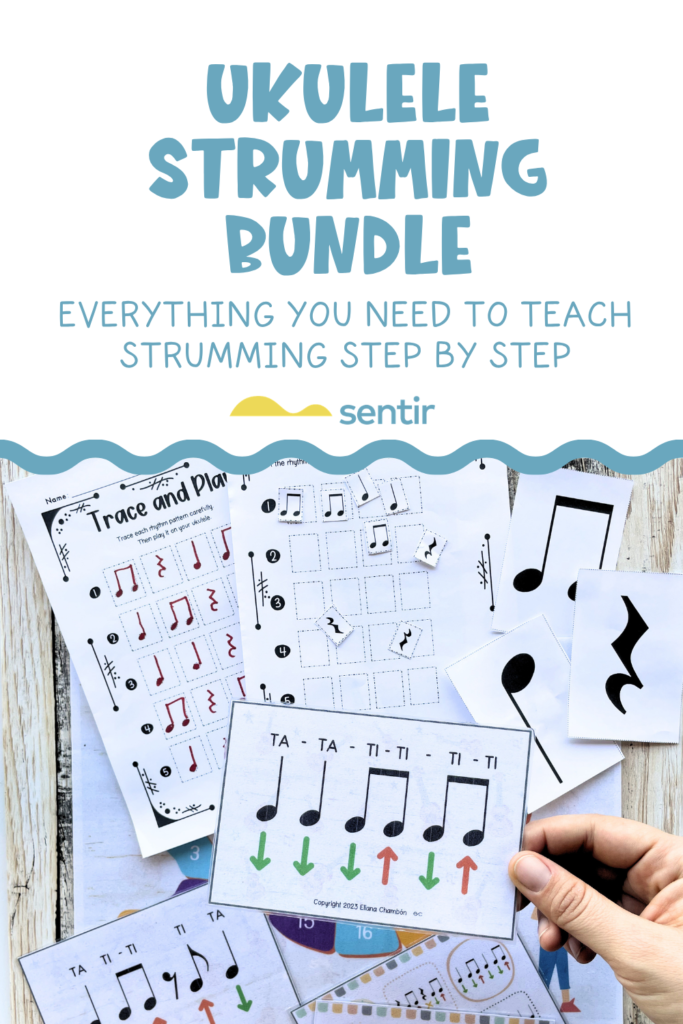
The Ukulele Strumming Activities Bundle includes games, worksheets, rhythm practice, listening activities, composition tasks, and beginner-friendly resources designed to help students build confidence with strumming patterns.
🇺🇸 Explore the Ukulele Strumming Activities Bundle
🇪🇸 Explora el Paquete de Actividades de Rasgueo para Ukelele
“Save this idea for later 
“Save this idea for later
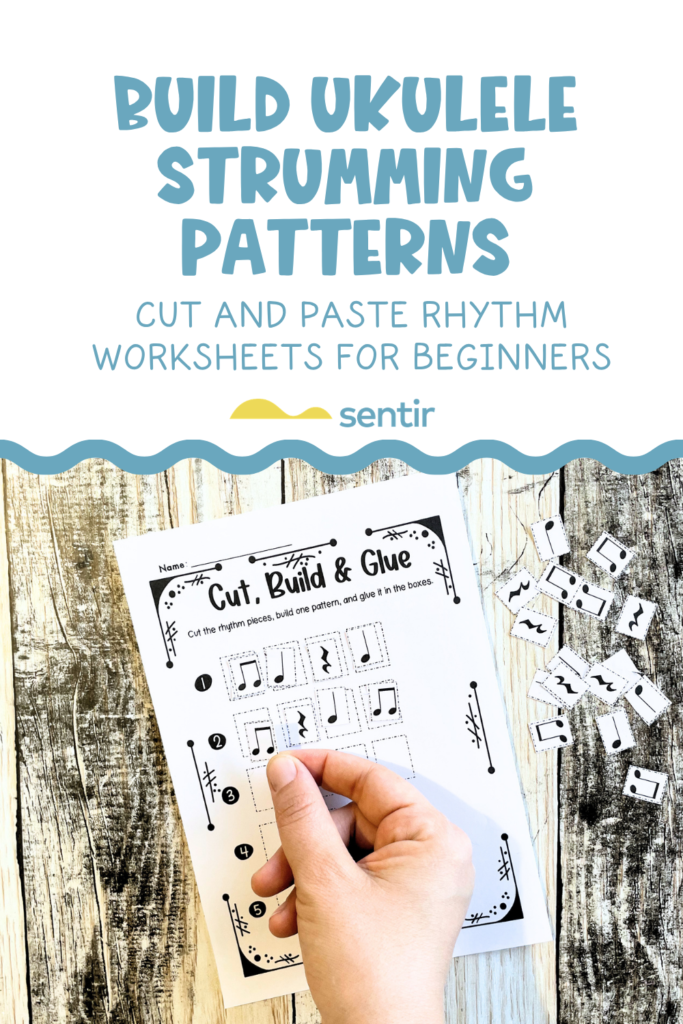
Because students enjoyed this activity so much, I created a printable extension.
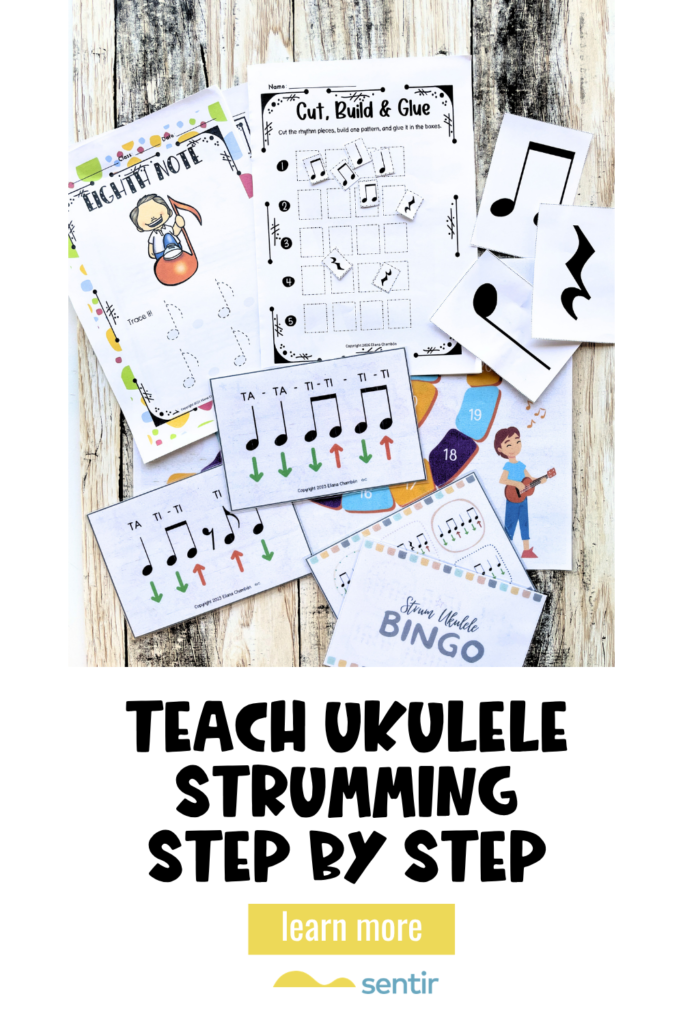
Ukulele Strumming Rhythm Activity Level 1
This resource allows students to:
- cut rhythm pieces
- build patterns
- glue them
- complete listening tasks
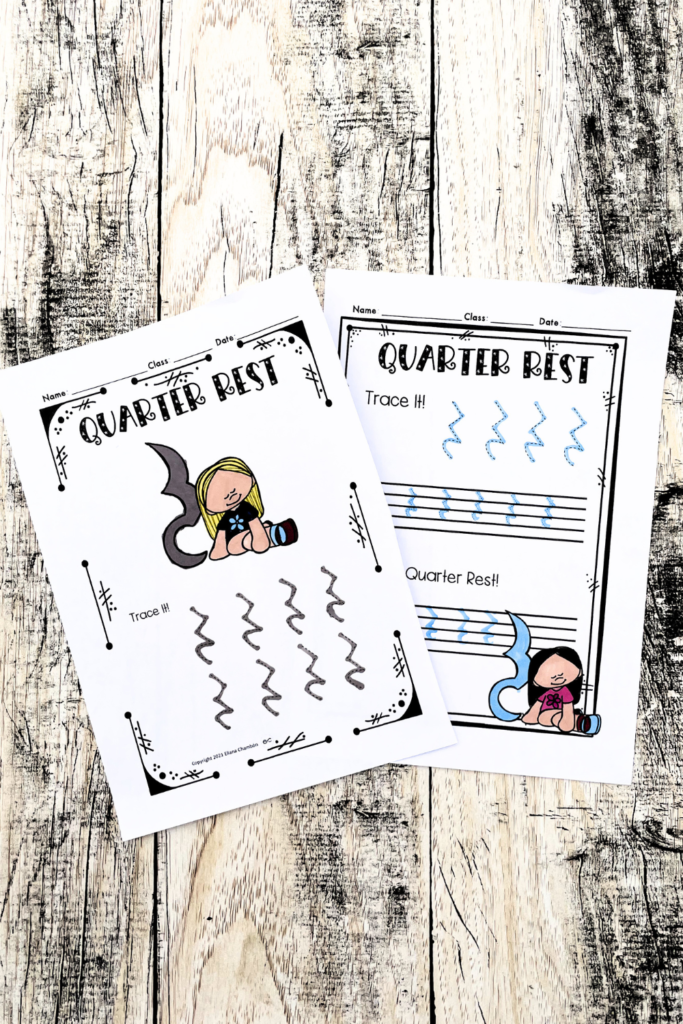
- trace symbols
- work in pairs
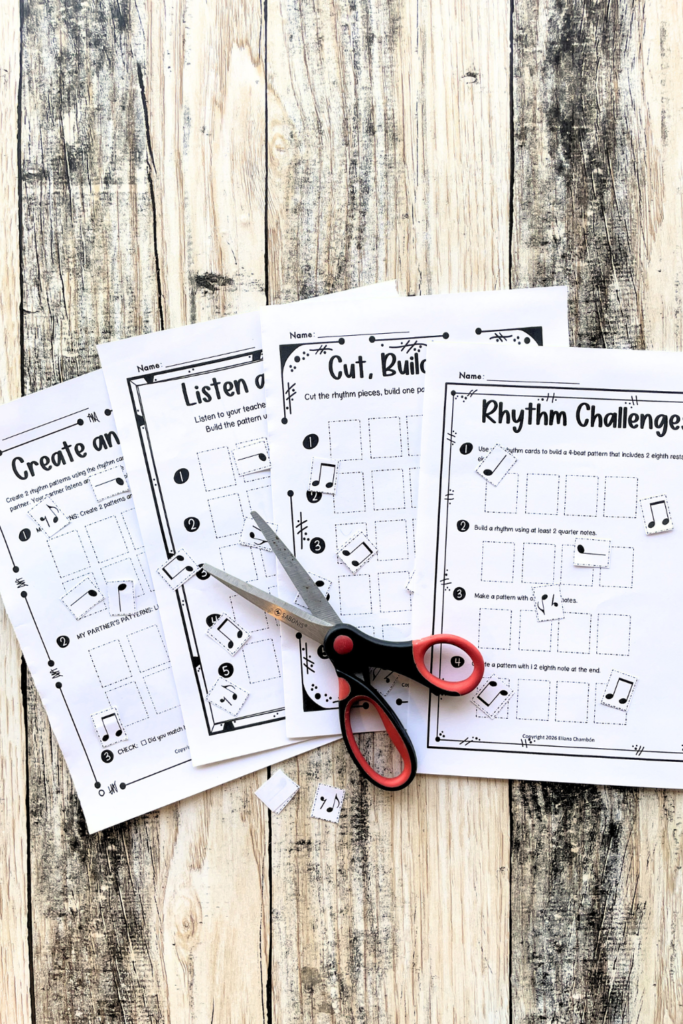
In addition, it allows students to keep their compositions in their notebooks.
This gives them a record of their progress over time.
Want all these activities in one place?
These rhythm-building, composition, listening, and strumming activities are included in the Ukulele Strumming Activities Bundle.
🇺🇸 Explore the Ukulele Strumming Activities Bundle
🇪🇸 Explora el Paquete de Actividades de Rasgueo para Ukelele
“Save this idea for later
“Save this idea for later